Before you start
The application form is built for your document type. The type you selected controls which sections and fields appear. Complete what is shown. A section or field that is not shown is not needed for your application, and the screen does not list what it left out.
Open and complete the form
- Select Draft Applications on the top navigation bar.
- Select Case View.
- Use Search draft applications... to find your case if you need to.
- Select the case number to open the editable form.
- Check the Document type shown below the case number. It names the type your form is built for.
- Complete each section shown on the form.
- Select Save as Draft when you want to pause. Save an application as a draft explains saving.
Example: a Conveyance form
In one live example, an application with document type Conveyance to a Bahamian Individual shows these sections:
- Additional Criteria Needed
- Property Information
- Transferor(s)
- Transferee(s)
- Bill To
- Document Information
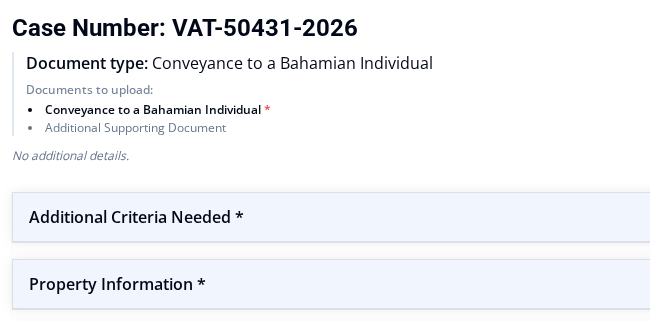
An asterisk beside a section or choice marks it as required on this form.
When Transferor(s) appears on your form, open the section and select Add Transferor to start the first entry.

When Transferee(s) appears, Add Transferee starts that entry.
This is one example only. Other document types can show different sections and fields.
What happens next
Your saved information appears again when you reopen the application.
Some sections have their own guides. Answer document criteria questions covers the criteria section, and Upload supporting documents covers the document prompts.
When the form is complete, mark the application ready. Mark an application Ready To Submit explains readiness, and Fix issues that block Ready To Submit helps if the portal reports missing information.